Let’s start creating a custom registration form. Follow the step-by-step guide and you will also be able to create your form without facing difficulties. You can also watch the tutorial video if you don’t like to read.
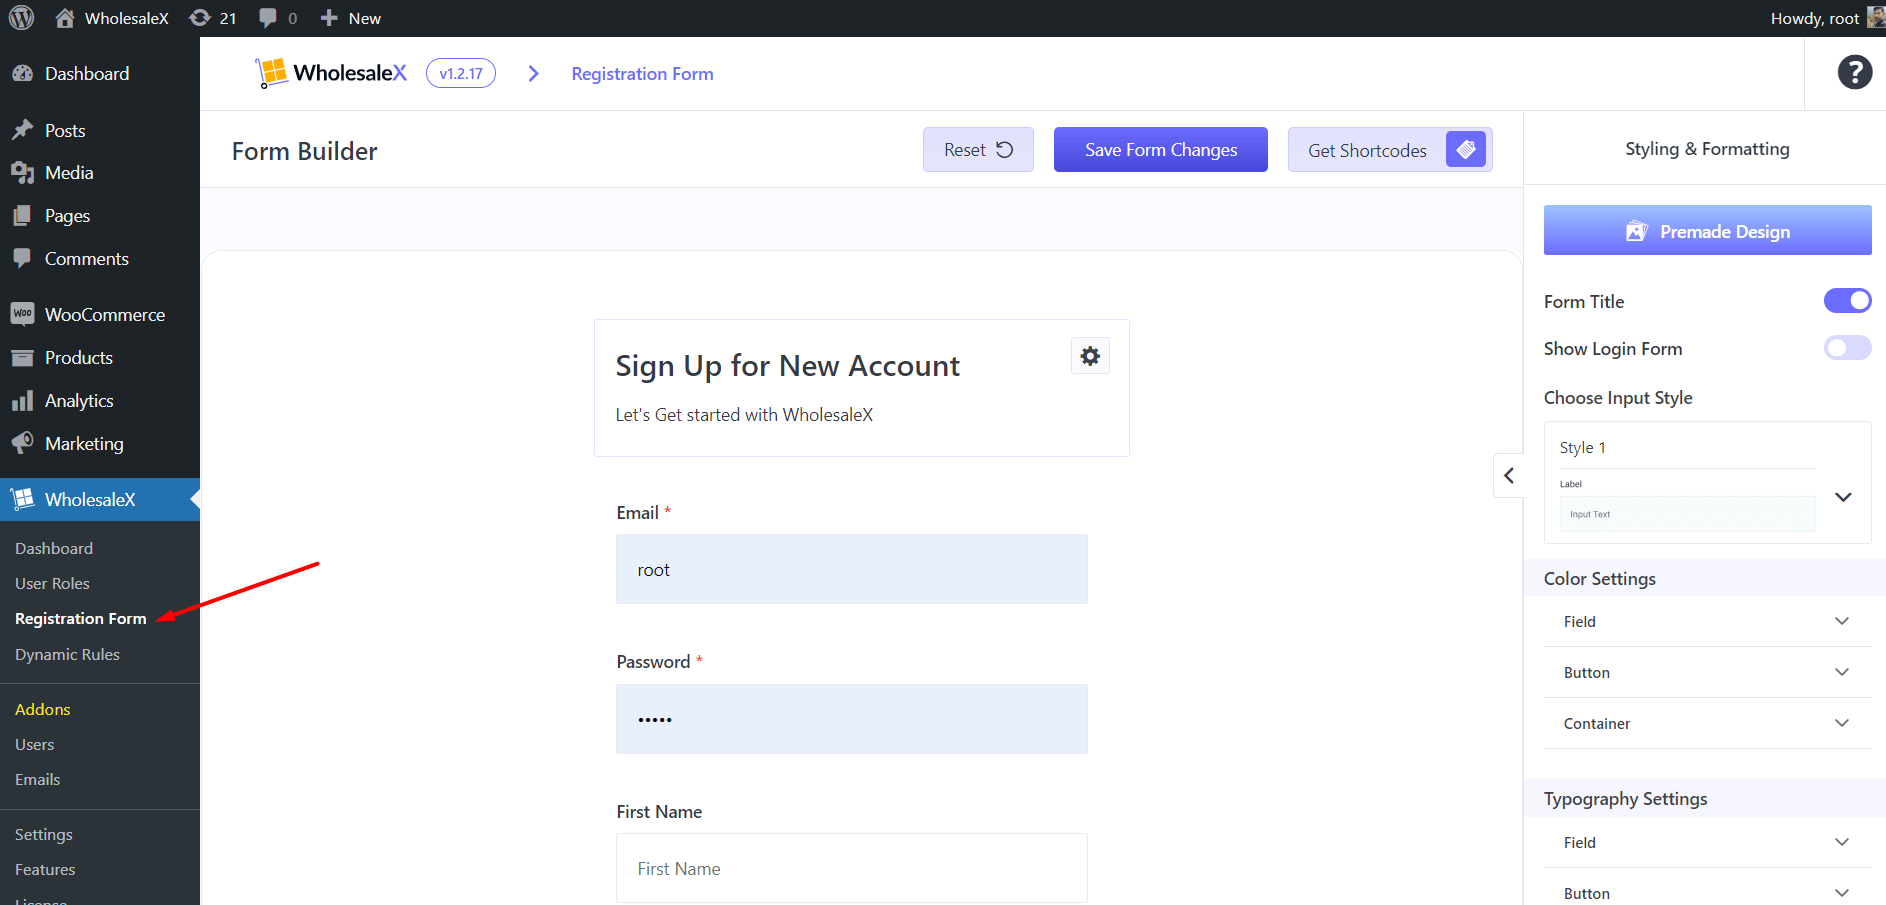
Step – 1. Go to the Registration Form Builder
If you already have installed & activated the WholesaleX plugin, you will see the registration form along with the other options. Click on the option to start the process.
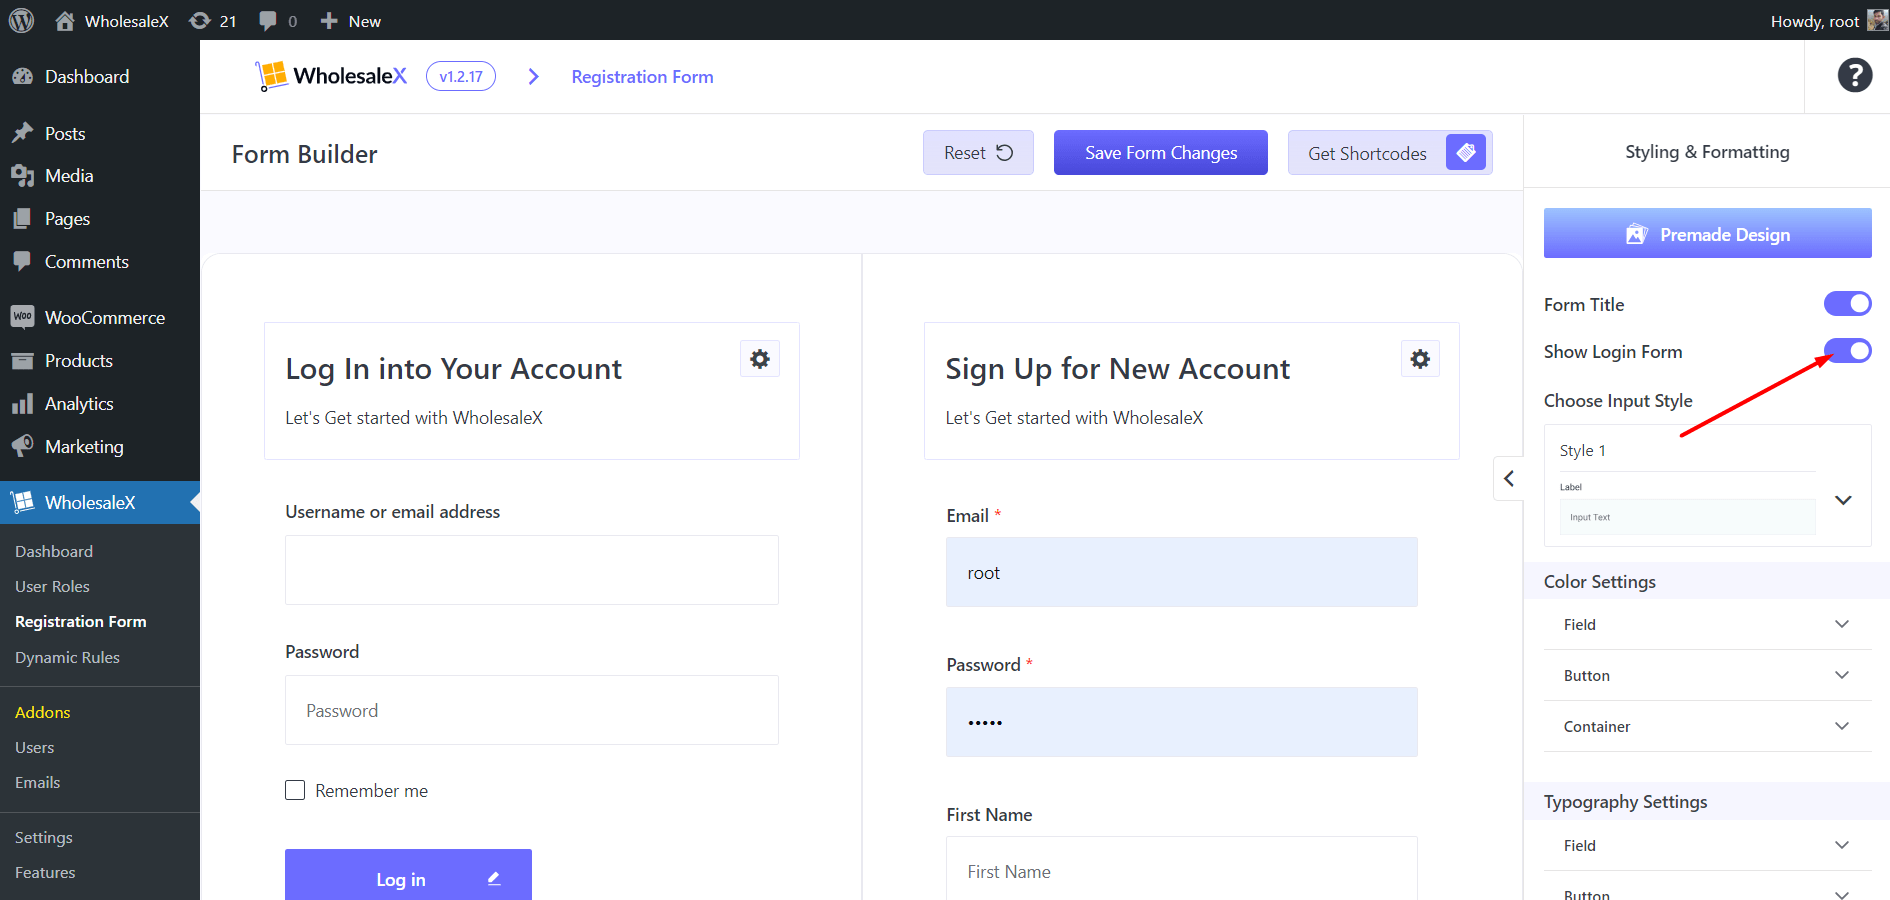
Step – 2. Enable Login Form (Optional)
Here, you will see a default registration form. I would recommend you enable the login form as well to avoid any confusion.
Step – 3. Import a Premade Design
Now, let’s import a premade design to speed up the process. However, will also explore all the available customization options in the later part of this documentation.
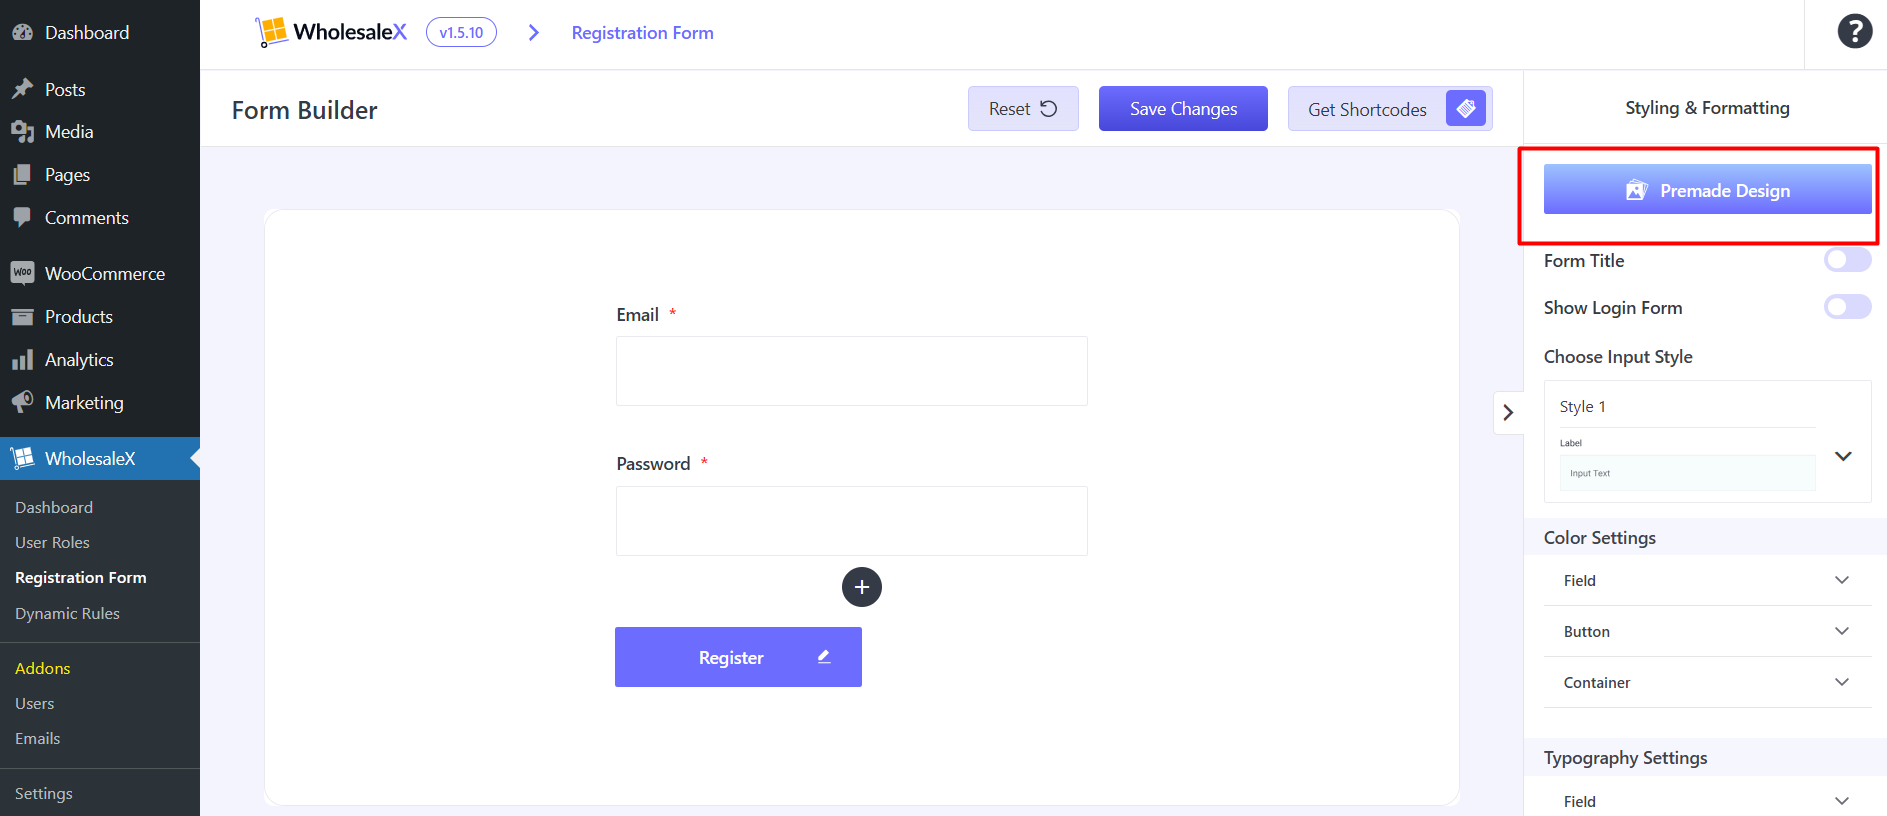
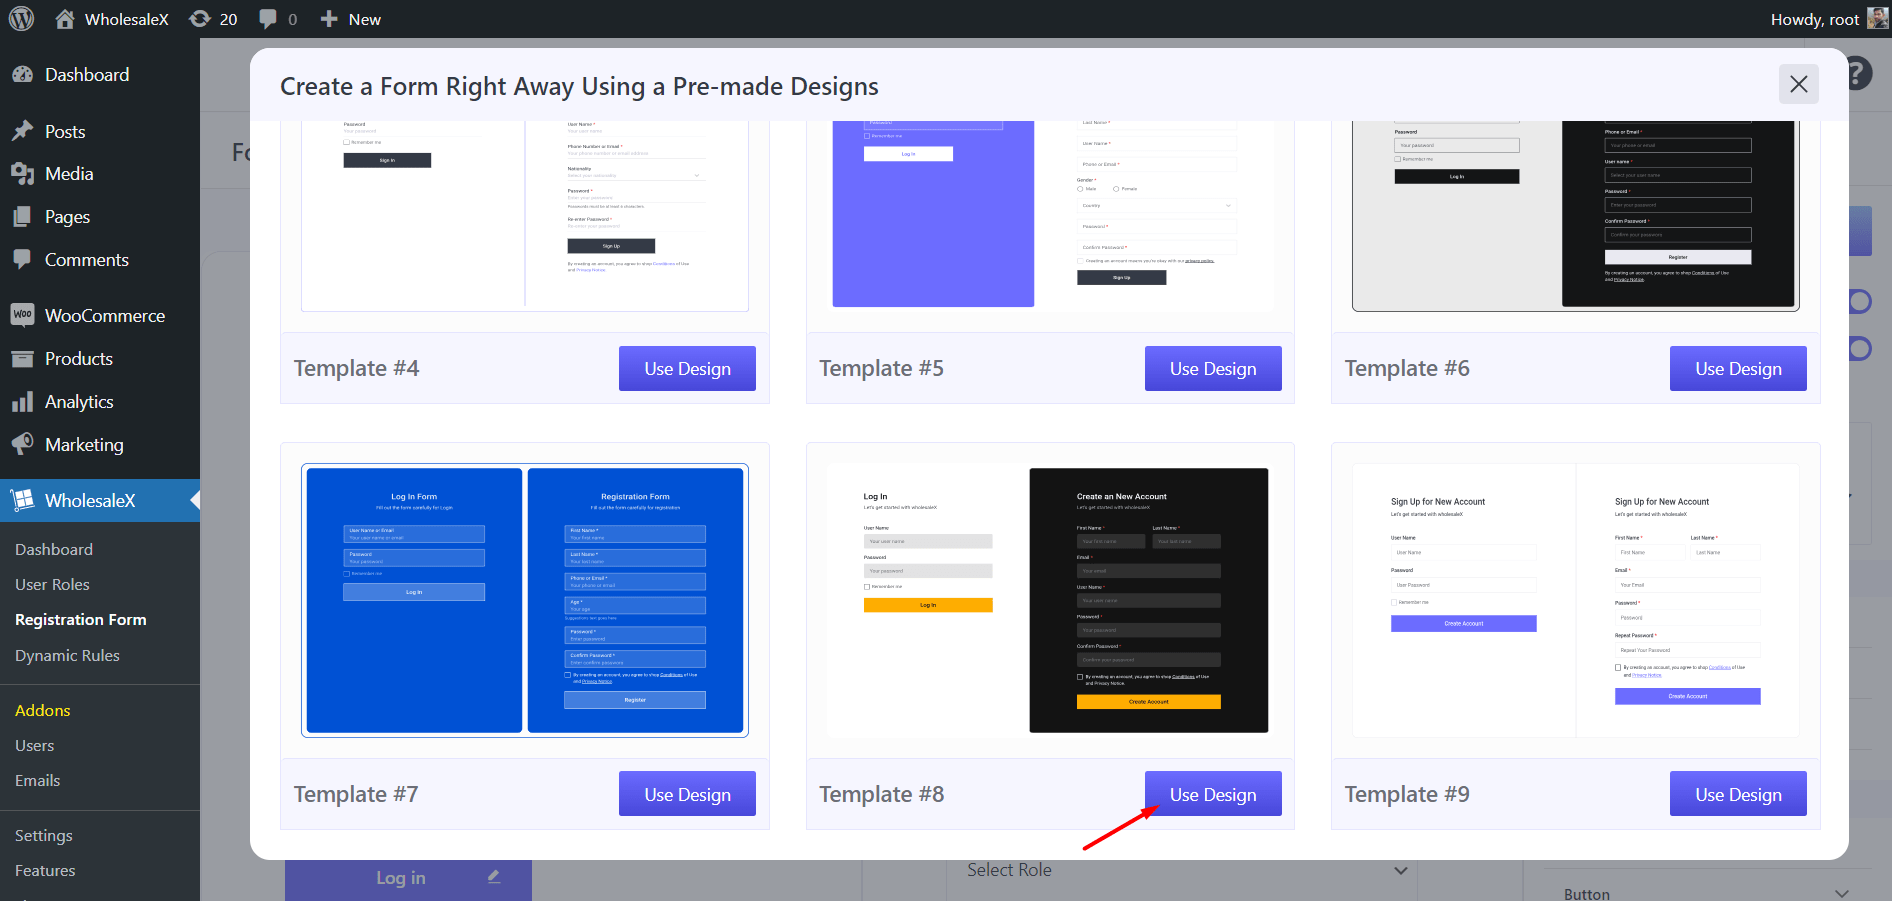
To import a premade design, click on the “Premade Design” option. Here, will see 9 premade design options. Explore and decide which design suits your needs. Click on the import button to use your desired template.
Step – 4. Add Your Desired Fields
You may want to add some more fields as the default form has only a limited number of fields. For that, you need to click on the “+” icon. Here you will see all your desired fields. Click on the field that you want to add the form.
If you don’t find any field, you can explore the extra field option to create a custom one. I will explain more about creating custom fields also. For now, let’s create a simple form.
Once you are satisfied with the fields click on the “Save Changes” button. That’s all your custom form is ready.