Ensure the minimum system requirements before moving on with the installation process.
The WholesaleX plugin can be installed in three different methods. They are:
- Automatic Installation (easiest option)
- Manual Installation
- Installation Via FTP
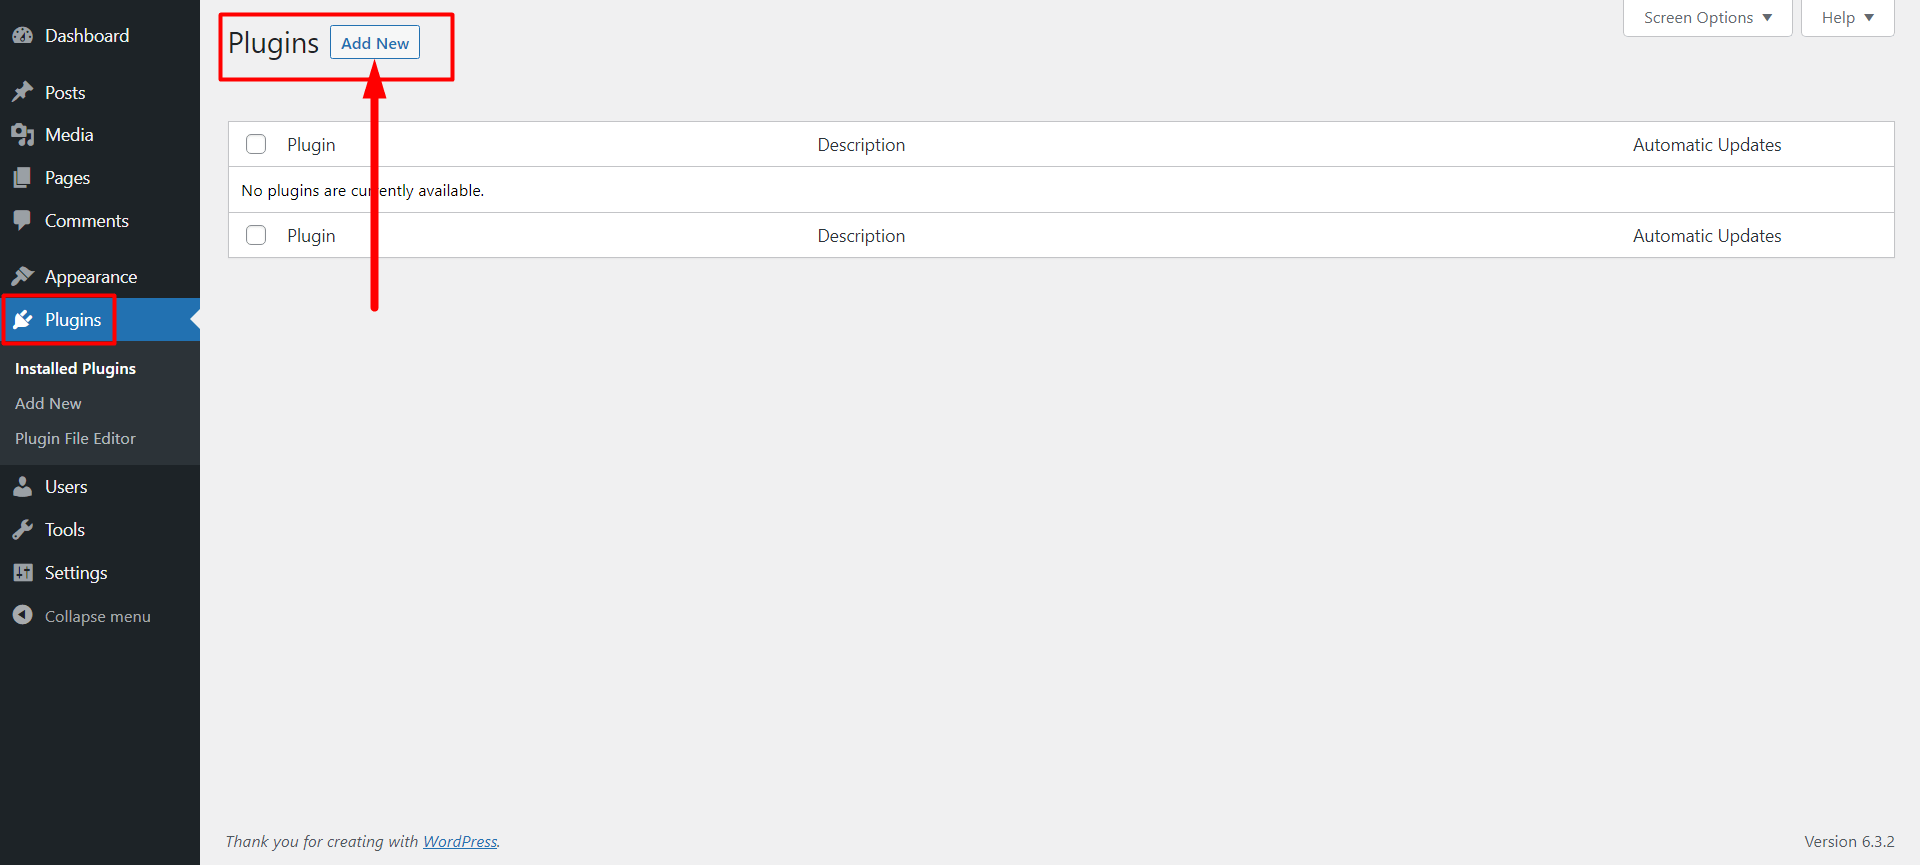
Automatic Installation
The process is very simple:
- Go to the “Plugins” section on your WordPress dashboard. Then click on “Add New.”
- On the right search panel, type “WholesaleX.” You should now see the WholesaleX plugin.
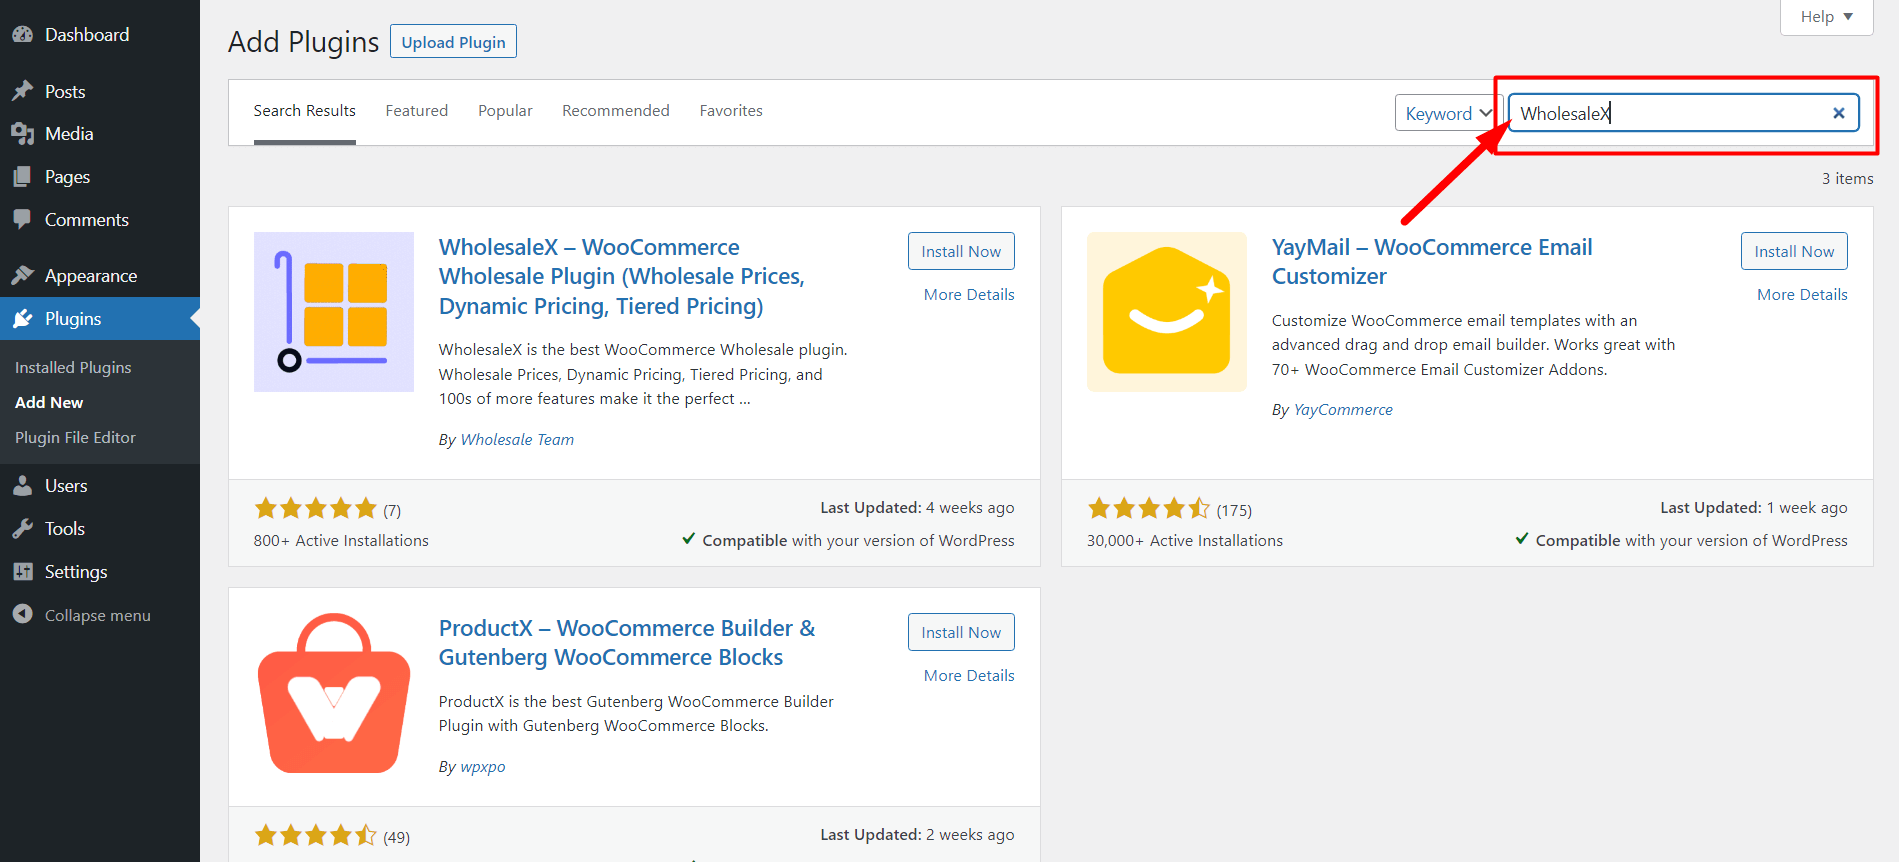
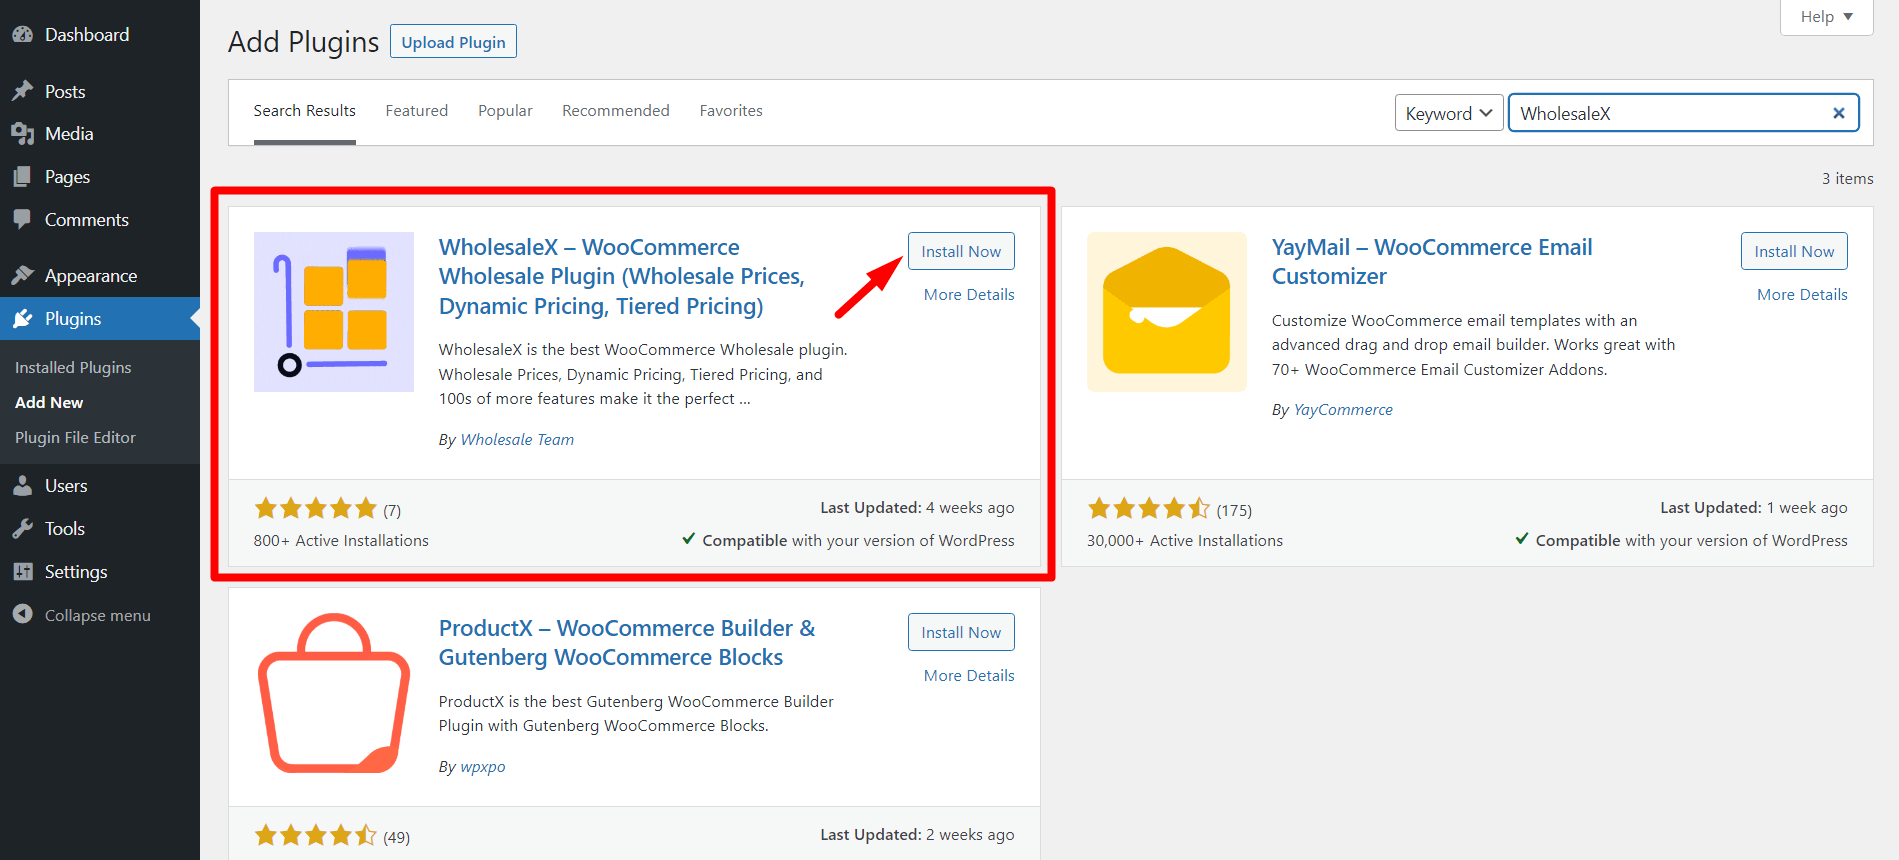
- Click on “Install Now”
- Then you can click on the highlighted “Activate” button.
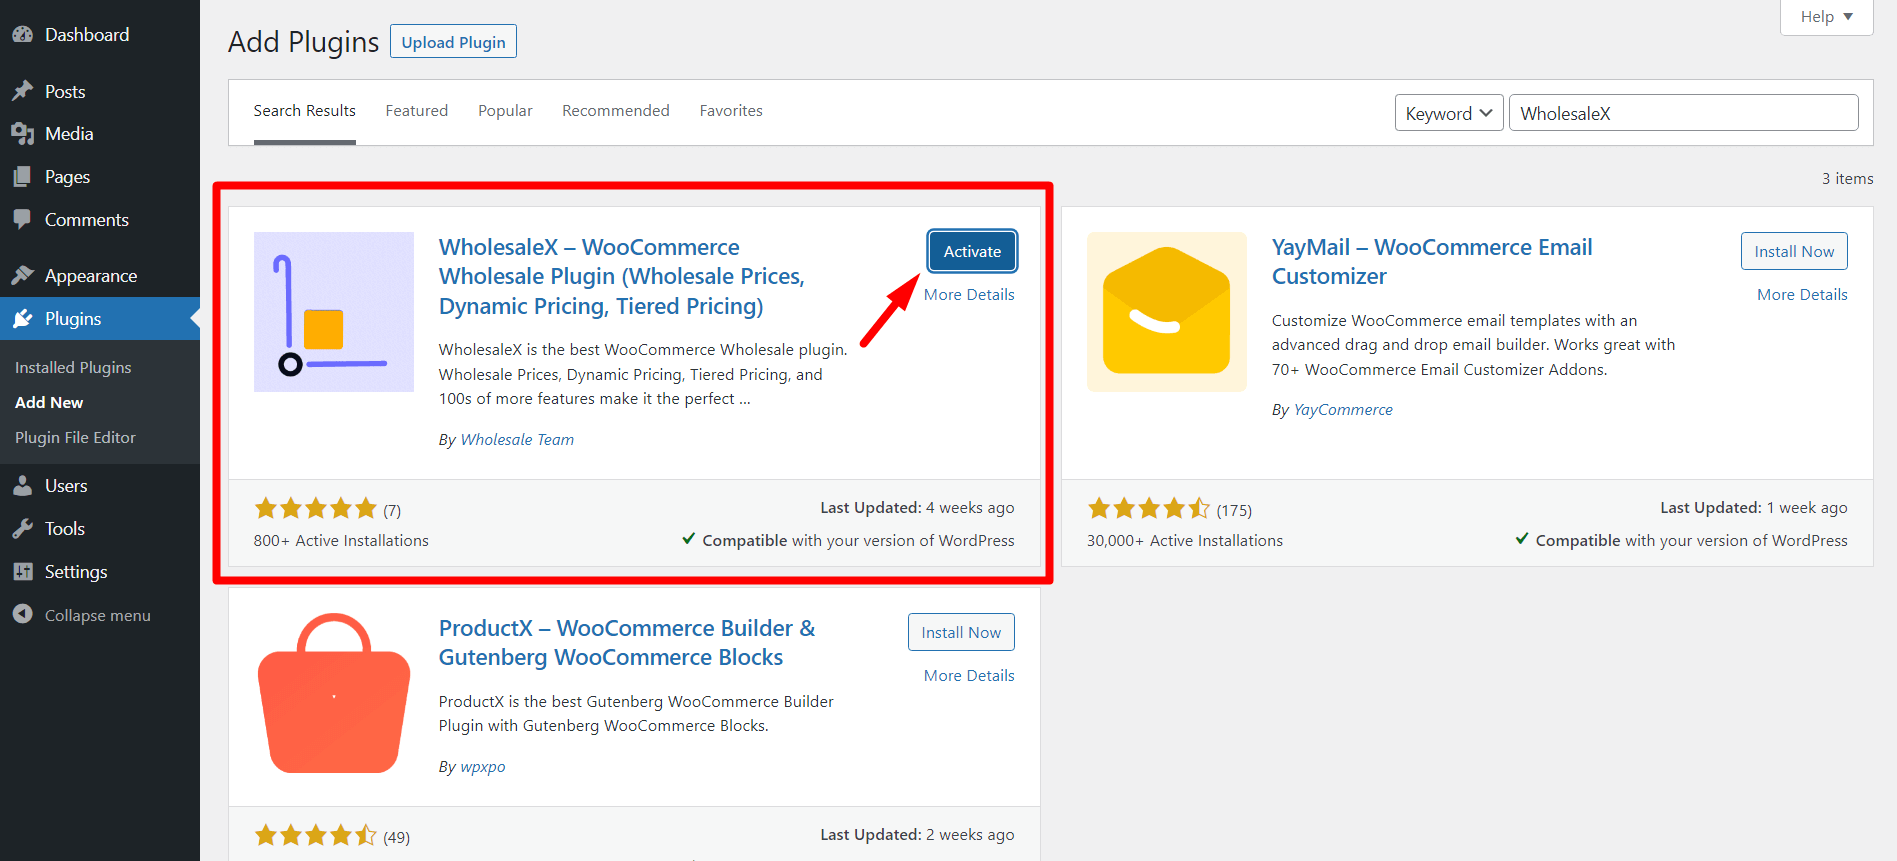
You can start using WholesaleX and its features now.
Manual Installation
The manual installation process is also easy enough to understand.
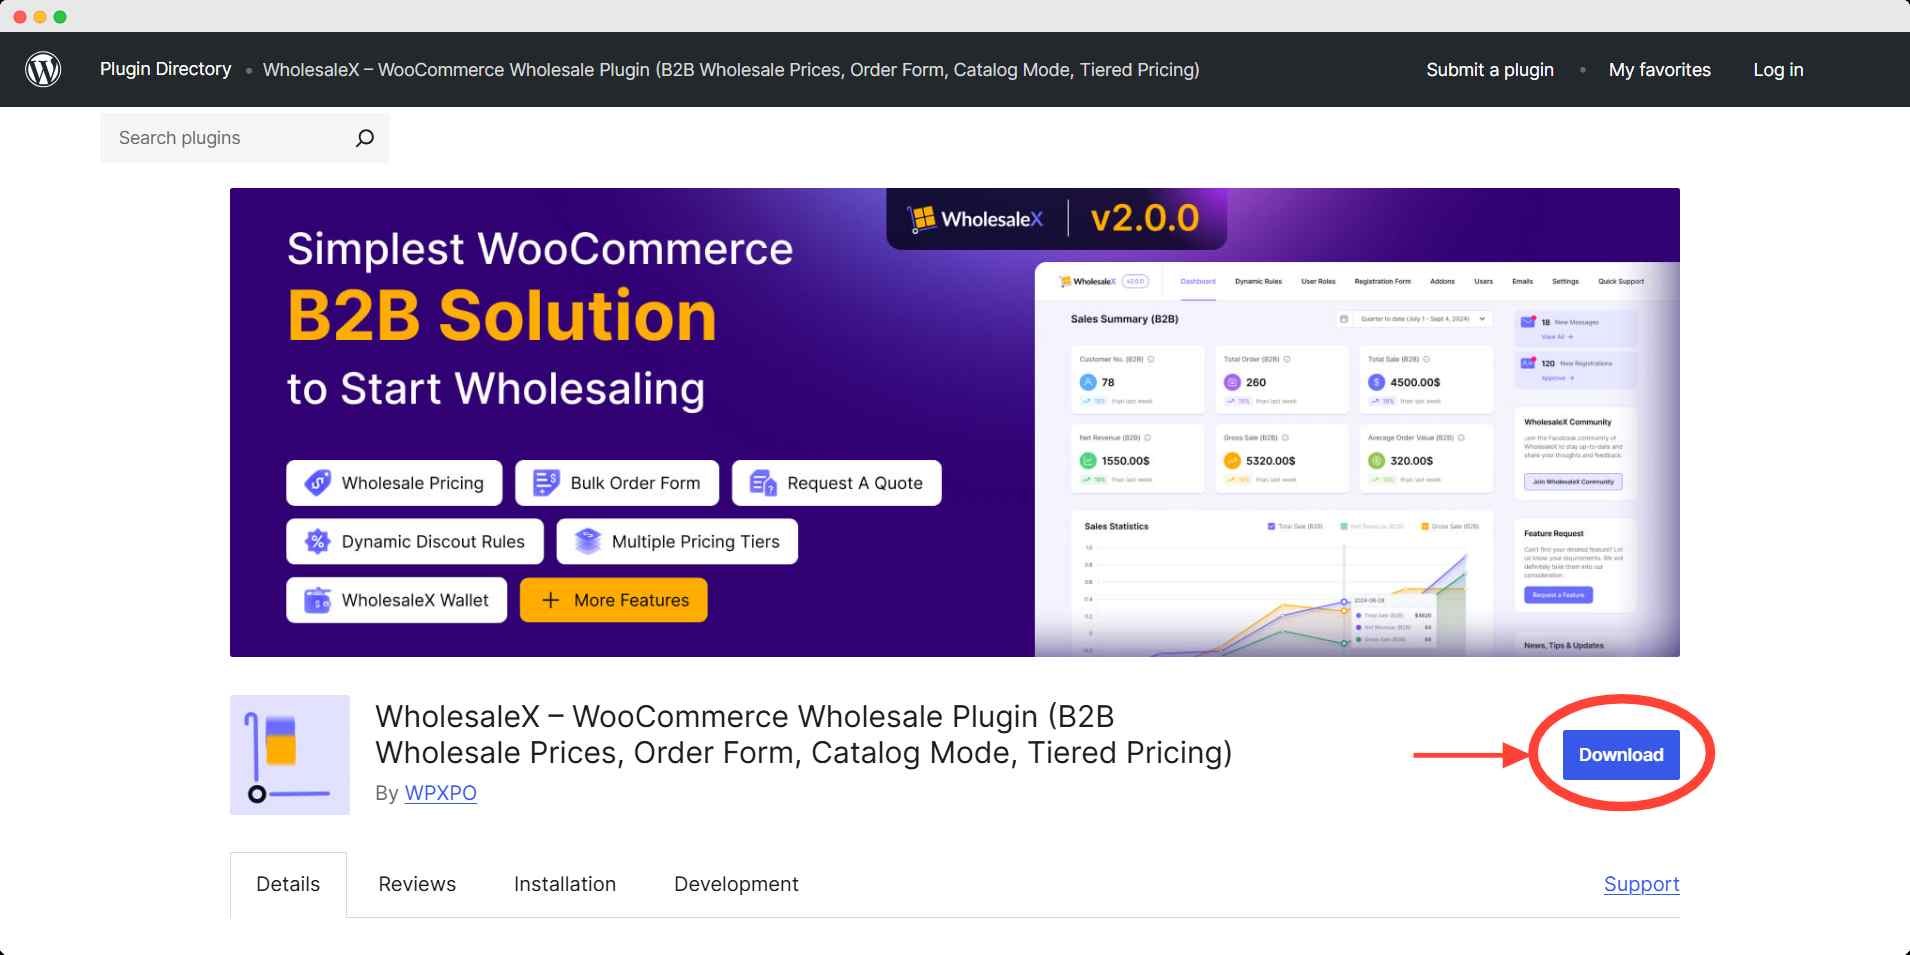
- First, download the WholesaleX plugin file from WordPress Directory!
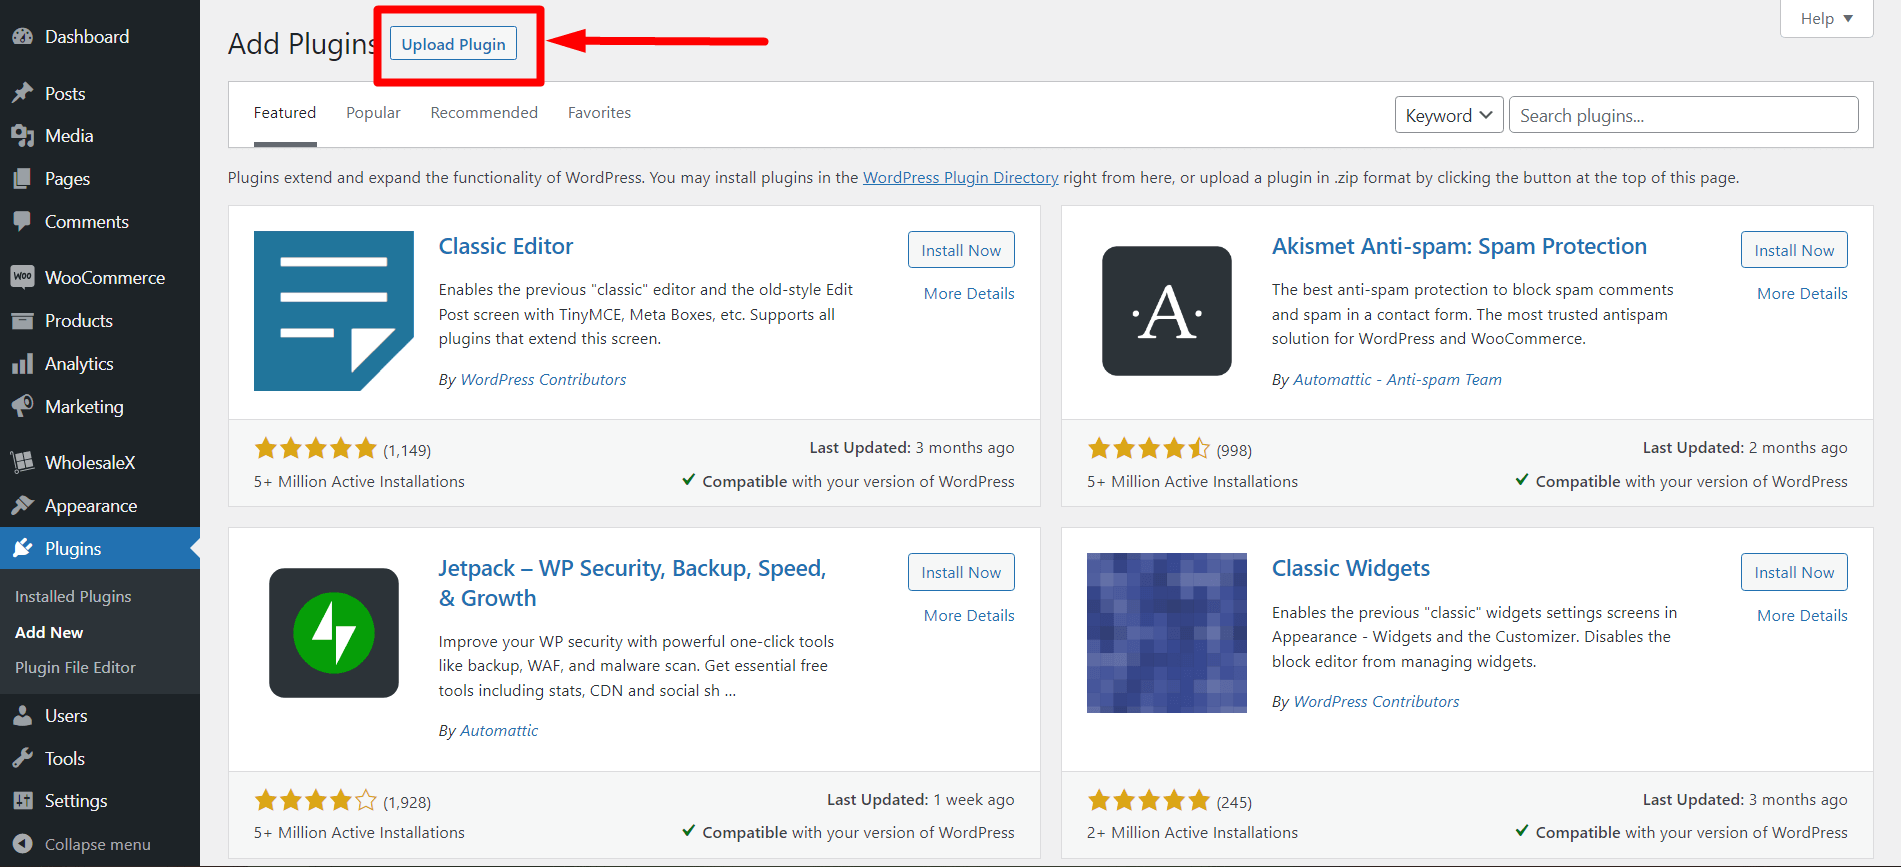
- Go to the “Plugins” section on your WordPress dashboard. Click “Add New”
- Now you will see an “Upload Plugin” button at the top left. Click on it.
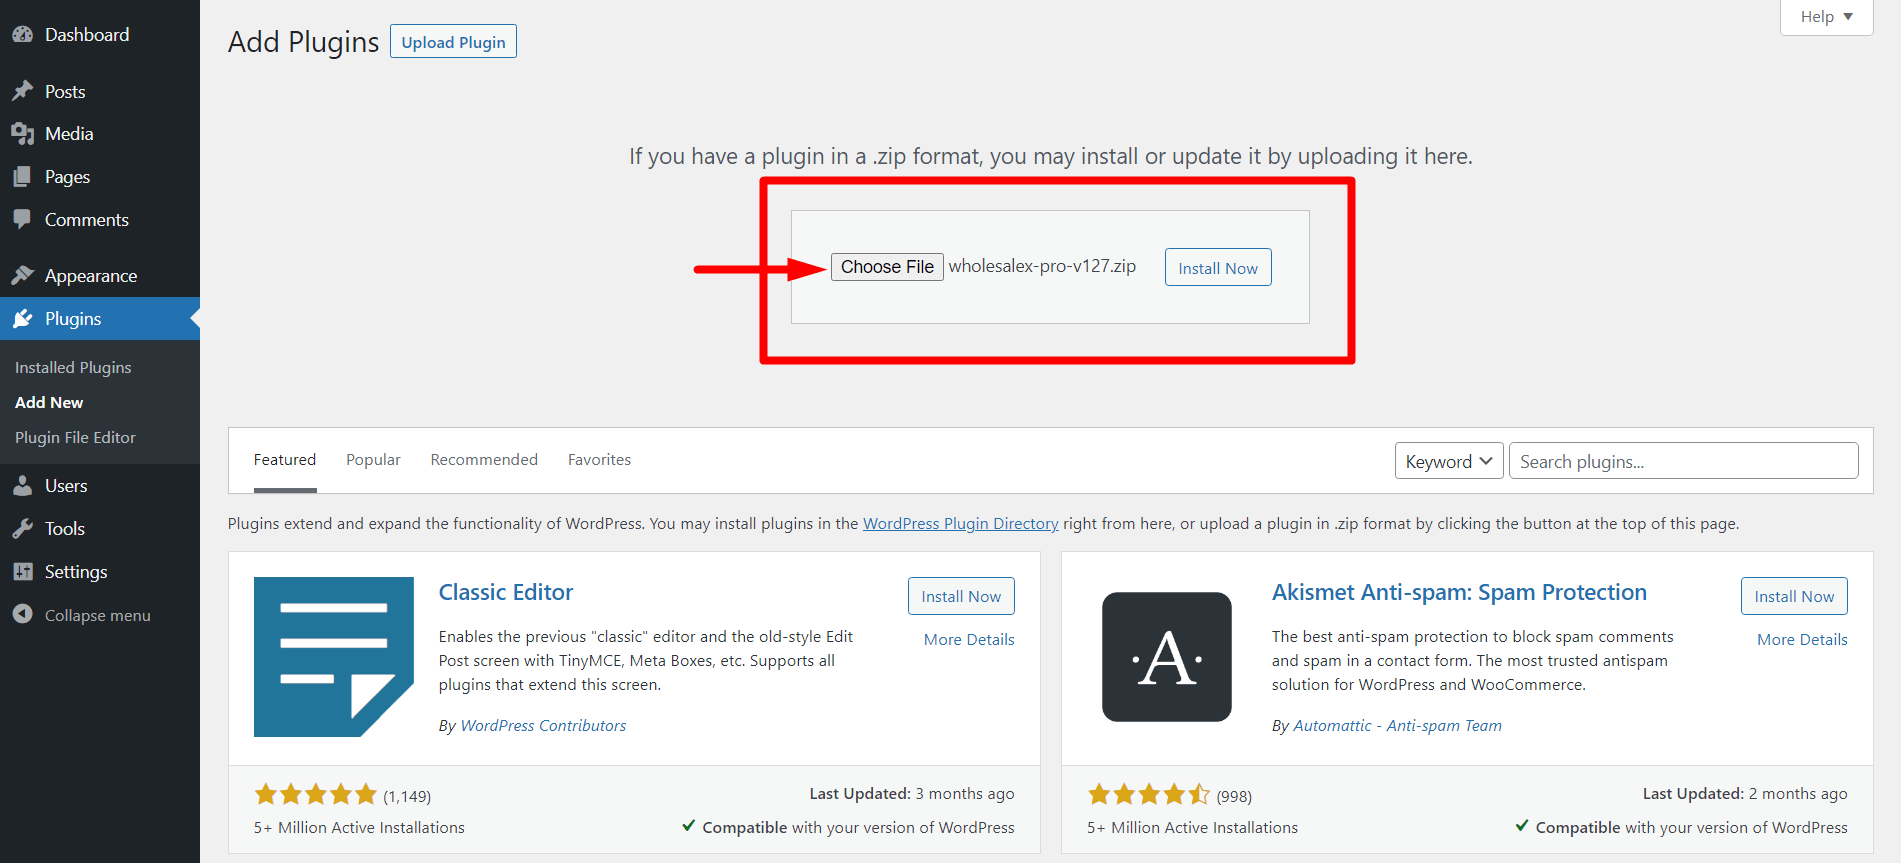
- Finally, click the Choose File button and upload plugin file from your download directory.
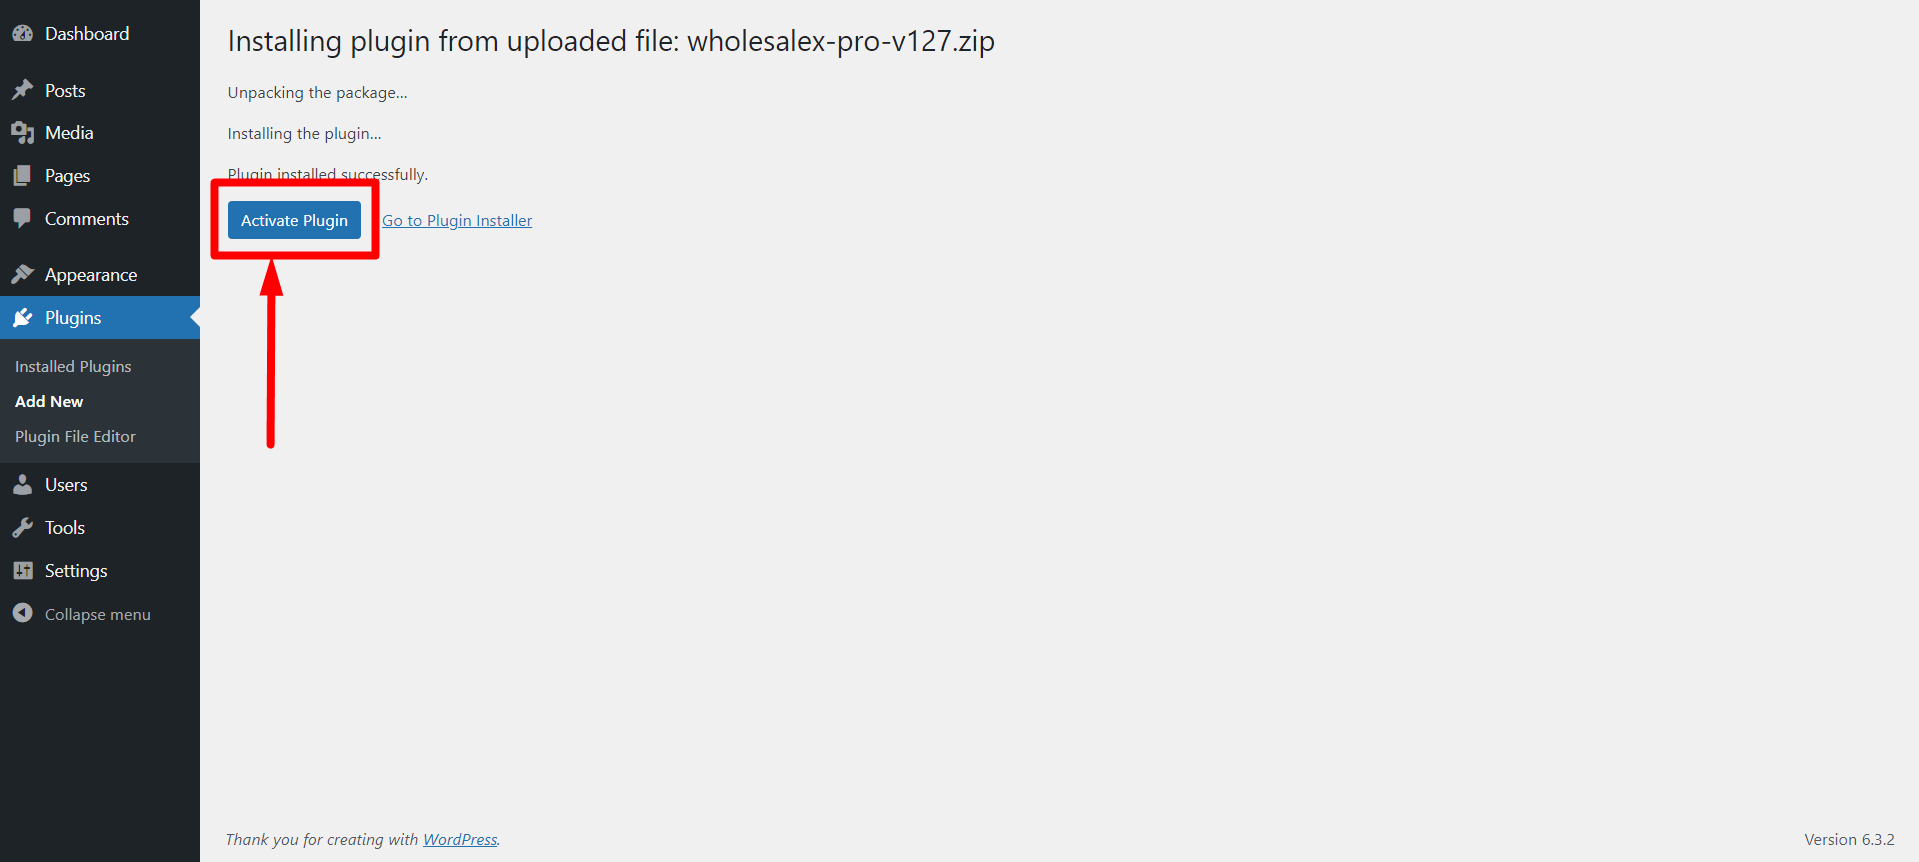
- You can now Install the WholesaleX plugin.
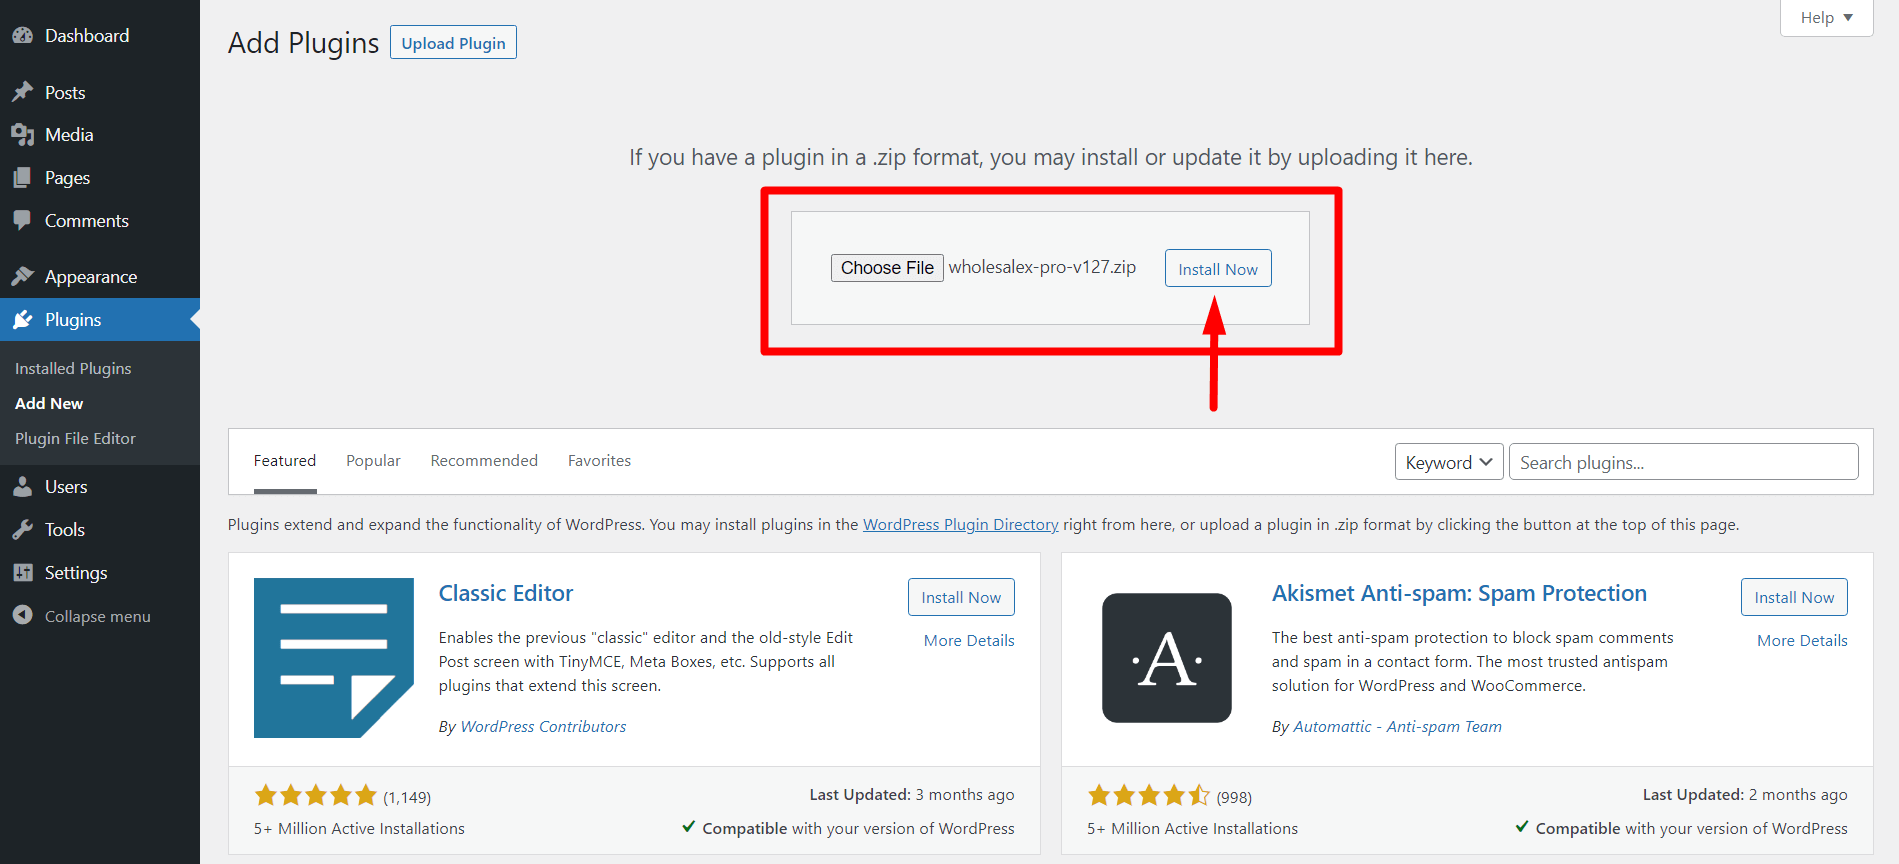
- Then, Activate the plugin and use it.
Installation Via FTP
This process is for those who want a more hands-on feel with WordPress.
- First, download the plugin from the WPXPO website.
- Unzip the files.
- You can access your cPanel or FTP program to navigate your WordPress installation directory.
- Go to Wp content→plugins→directory.
- Upload the plugin files to the directory.
- You can now activate the WholesaleX plugin by using the “Plugins” panel on your WordPress dashboard.