WholesaleX lets you set up payment discounts for any user or role. You can also set the amount, discount type, and duration to meet your business needs.
Payment Method Discount
In this guide, we’ll cover the Payment discount and how to apply them using the dynamic rules feature of WholesaleX.
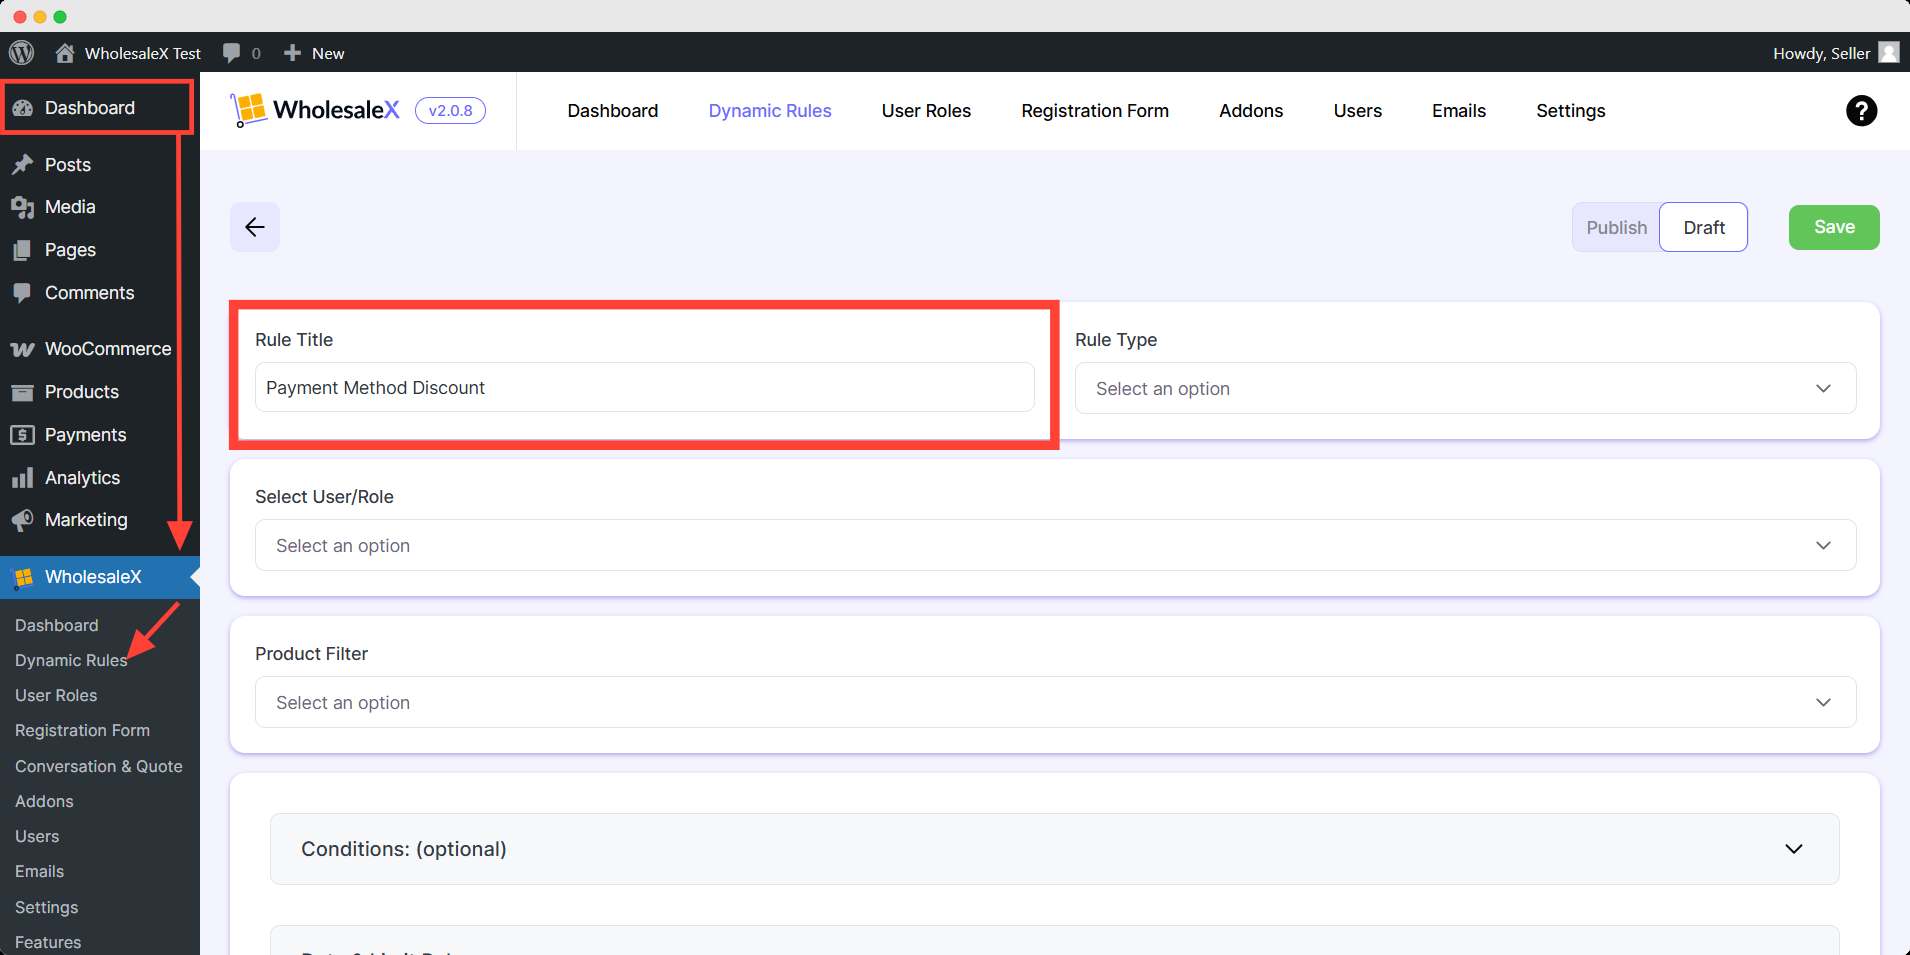
Step 1: Create a New Rule
Select WholesaleX from the WordPress dashboard. Now go to dynamic rules to create a new rule for and set the name for this rule.
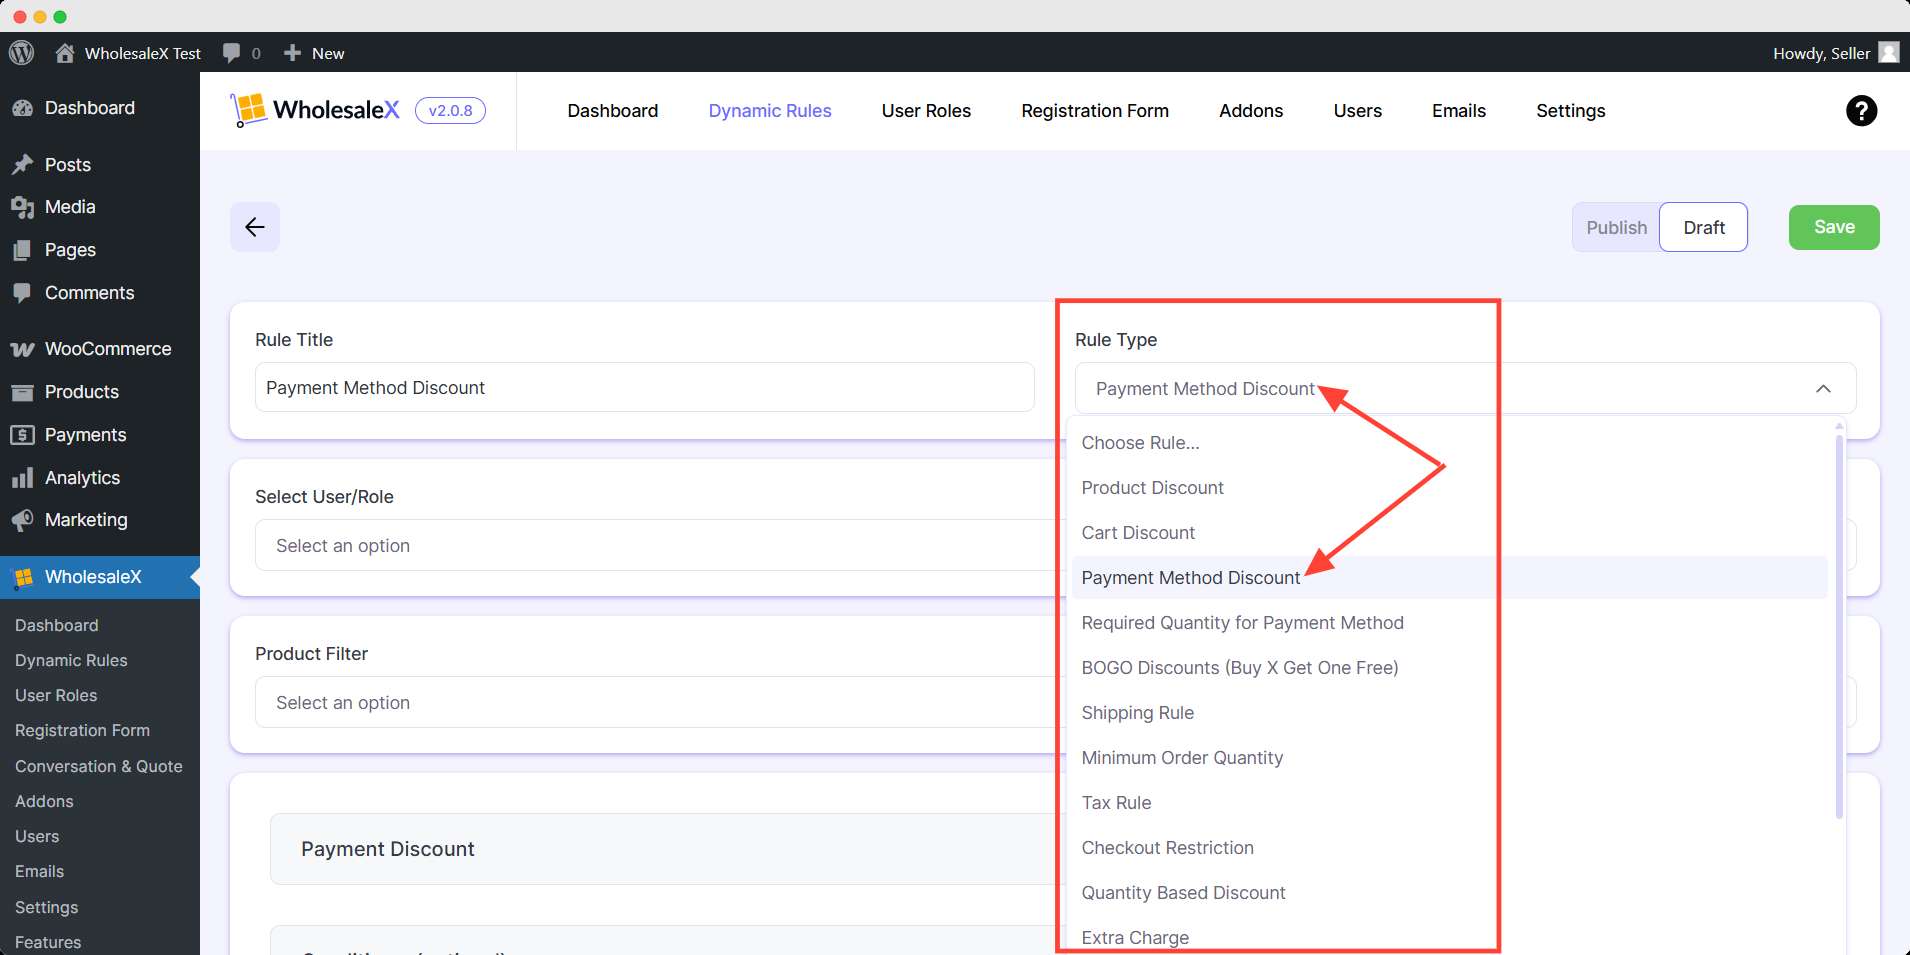
Step 2: Selecting Rule Type
WholesaleX offers various discount options for your store. This guide is about Payment Method Discounts, so choose Payment Method Discount from the Rule Type dropdown menu.
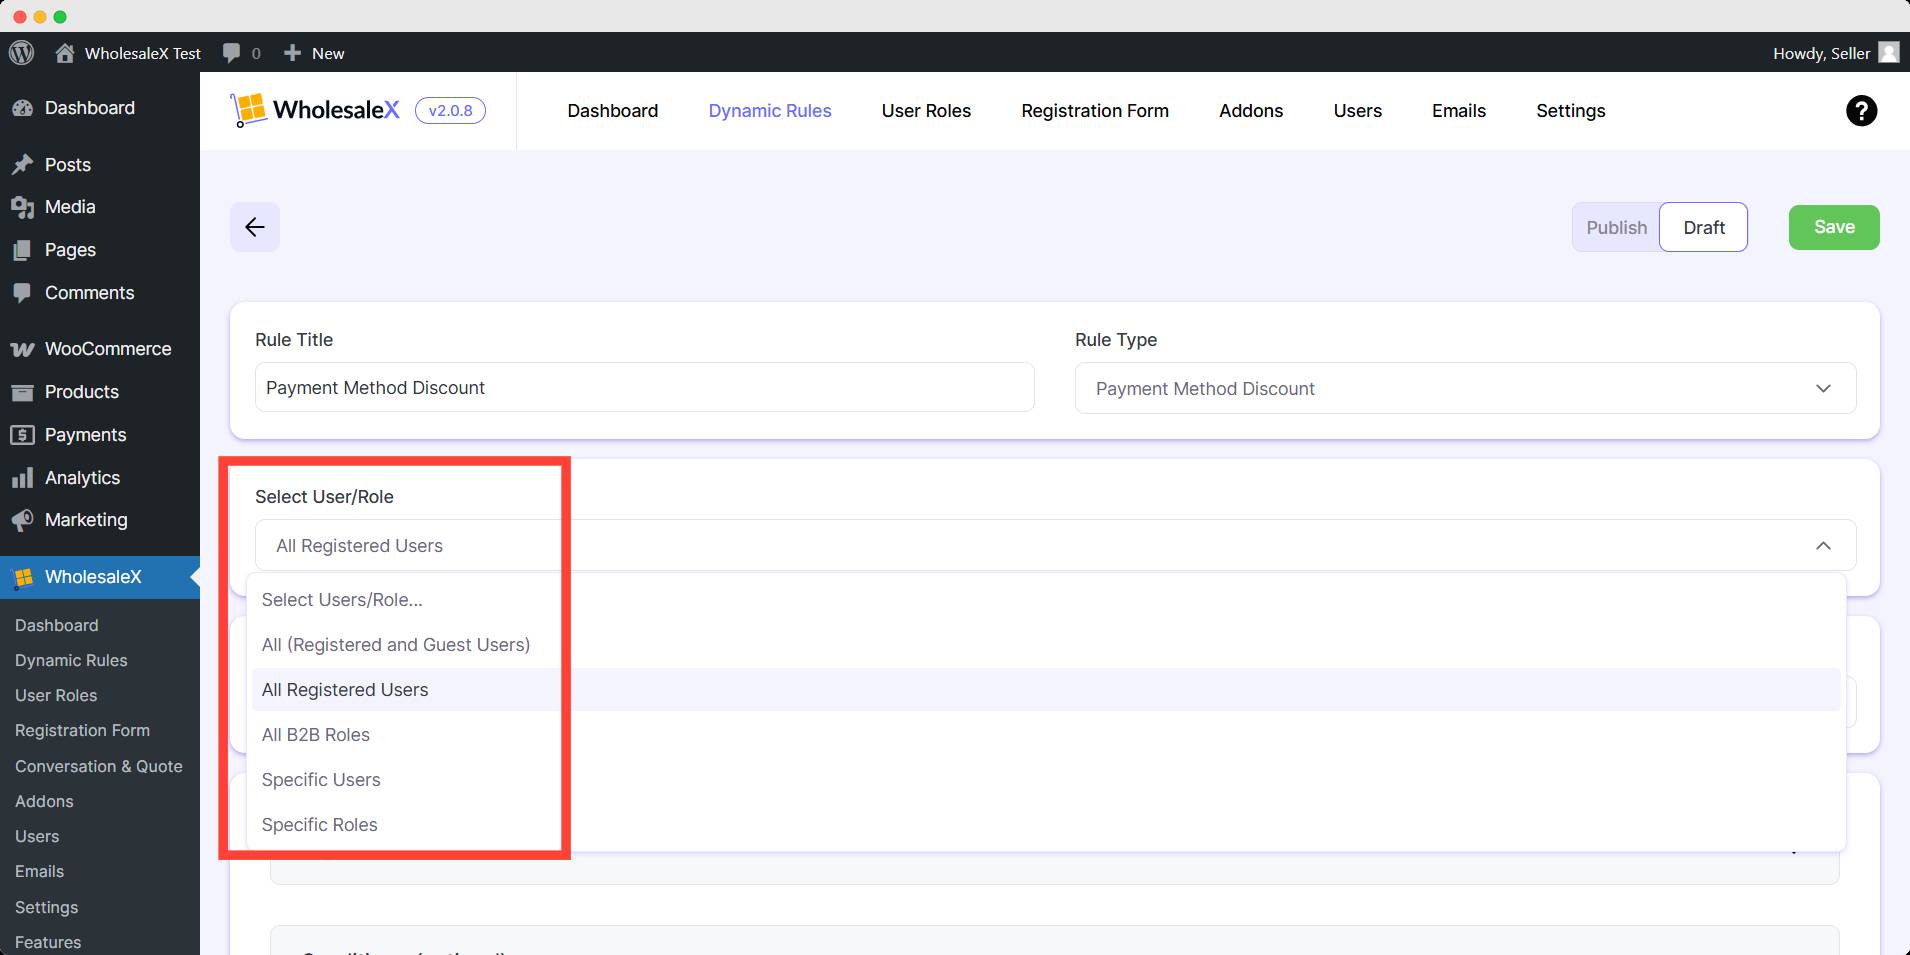
Step 4: Selecting User/Role
WholesaleX lets you select All Users, All Roles, Specific Users, or Specific Roles. Select the type of user or role you would like the discount to apply to.
Step 5: Selecting Product (Product Filtering)
Choose the product filter you want to apply the Payment discount from the dropdown menu.
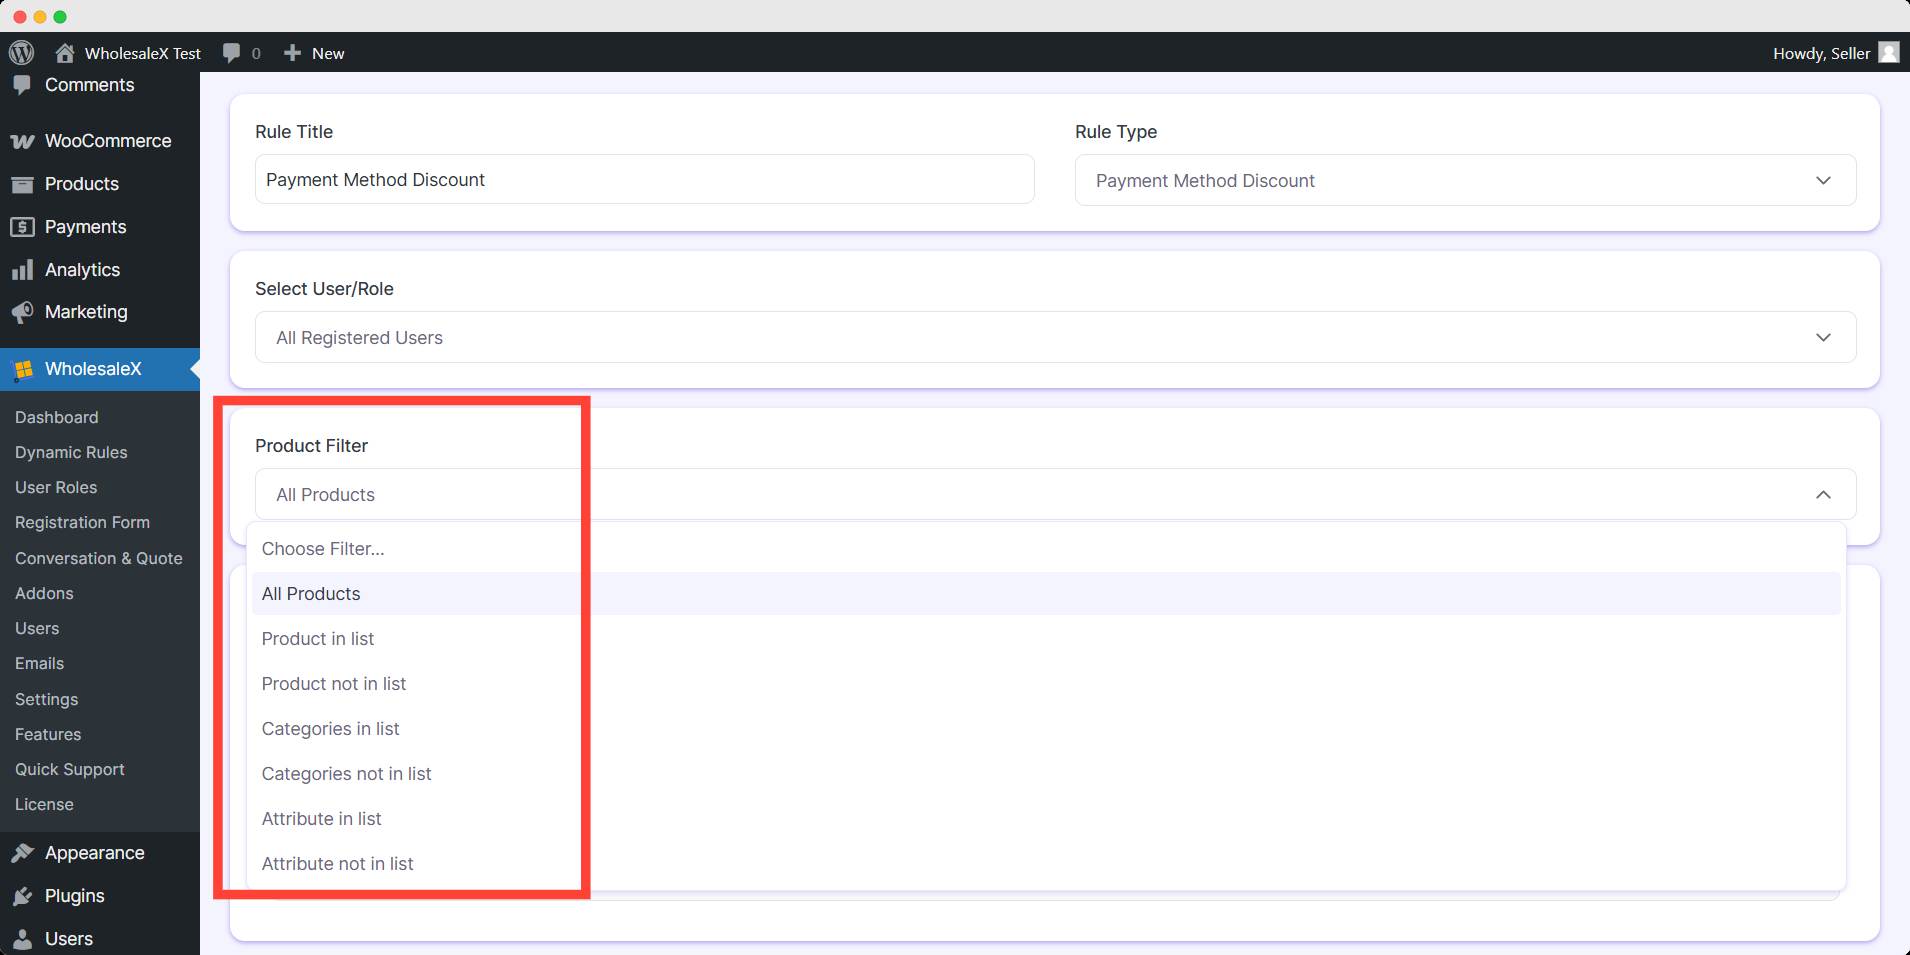
You must select them for convenient discount processing because your discount may be product-specific, not just for users and user roles.
Step 6: Select Payment Gateway
Now we have to select the payment gateway to which you would like the discount to apply. You can choose any of the payment gateways available in your store.
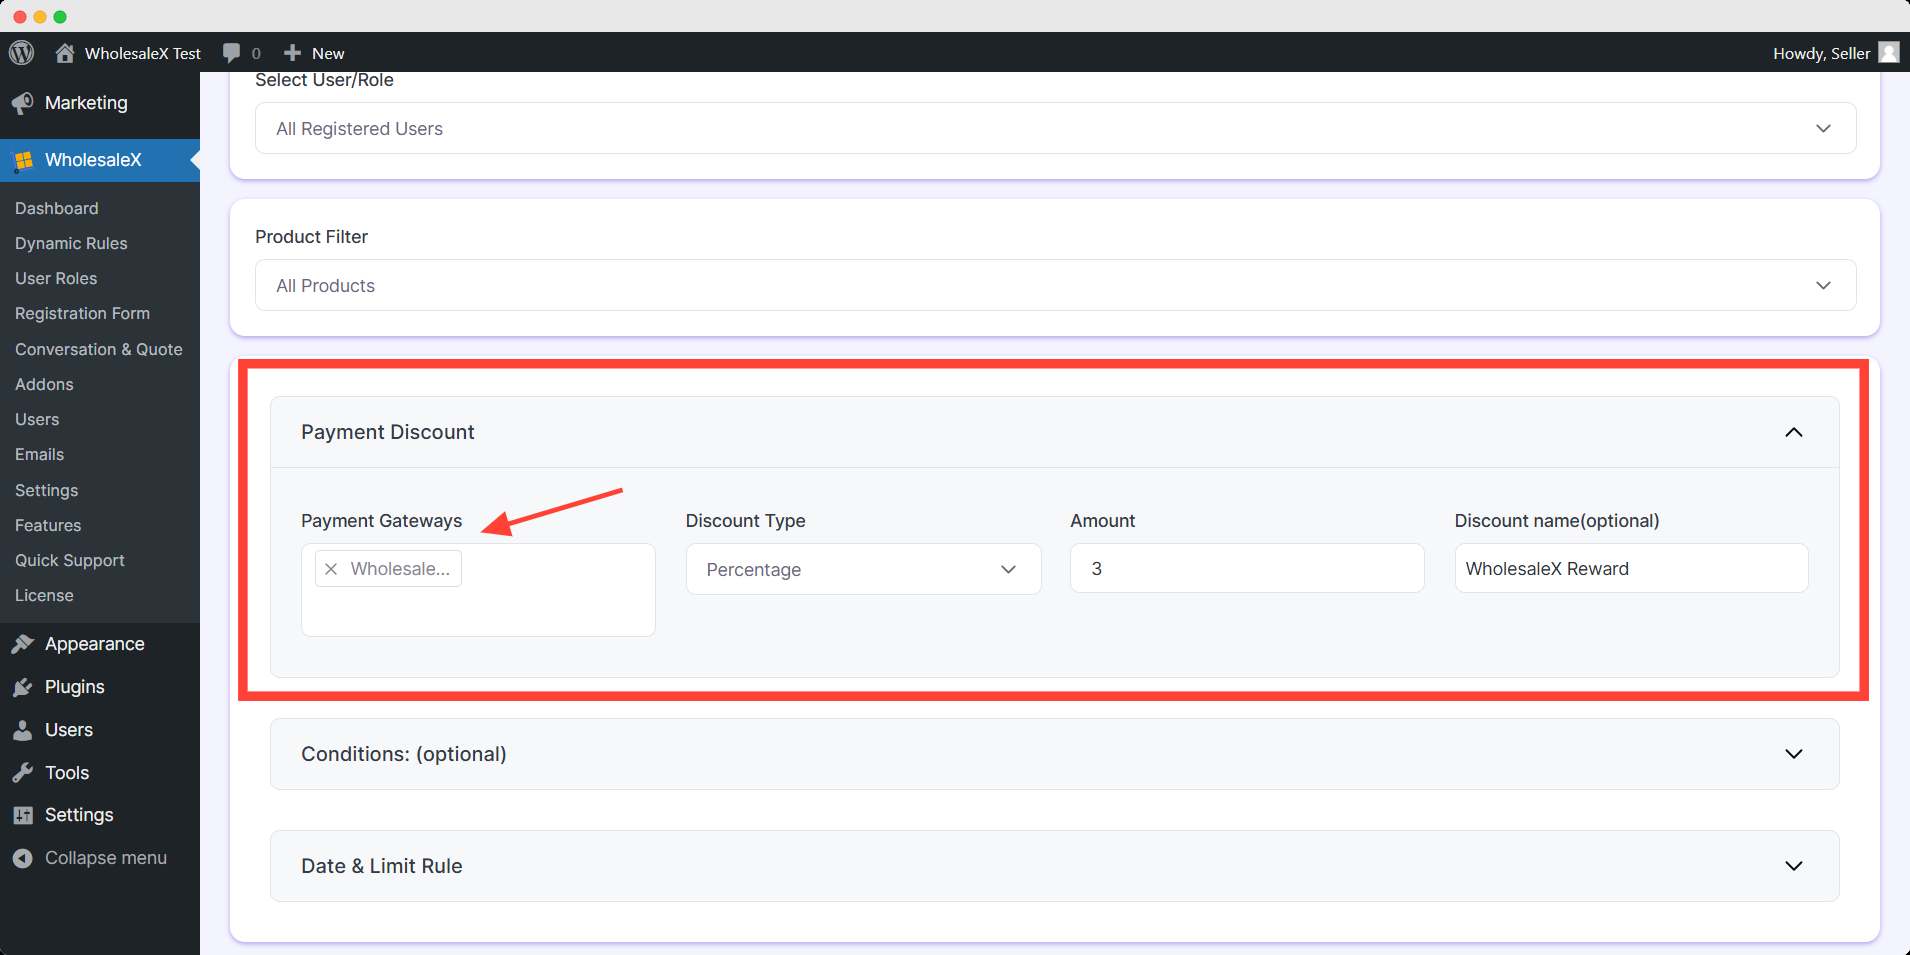
Select the discount type best suited for your discount promotion. We will use the percentage discount type for this guide.
Then, type in the Discount amount. You can also change the discount name if you would like, which is an optional setting.
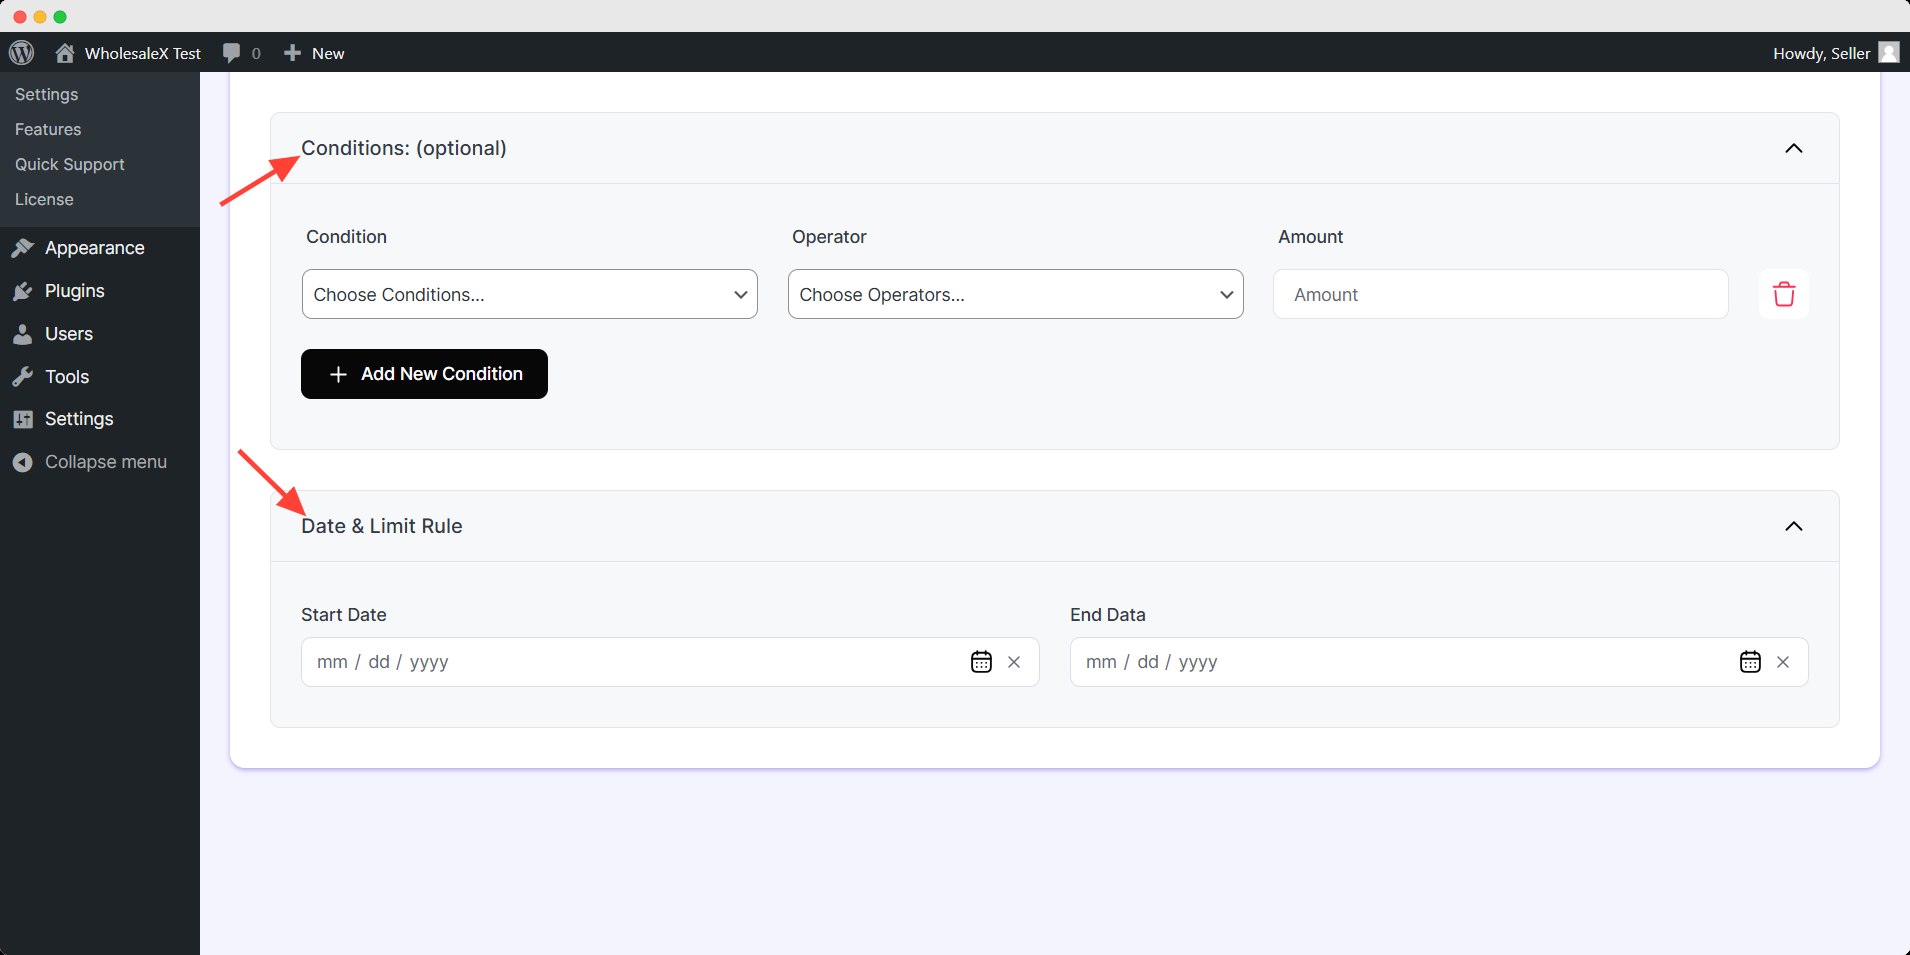
Step 7: Set Optional Settings
You can also add Condition and Date & Limit Rule if you want. It’s an optional setting, it won’t change any core function of your dynamic rule.
After you’re done with your Payment Discount setup, you need to save and publish it. Simply toggle the publish button and hit save.

You can edit, deactivate, and even delete the payment method discount at your convenience with WholesaleX.